6-3 steps 1-5
 by Eskil Moen
Step 2 says "Final-Drill all the holes common to the parts in the skeleton using a #30 size drill". I almost made a mistake here, by actually final drilling all the common holes as per the instructions. There are 2 holes on each side of the front spar that should not be final sized to #30, as they will have a #40 hole in them.
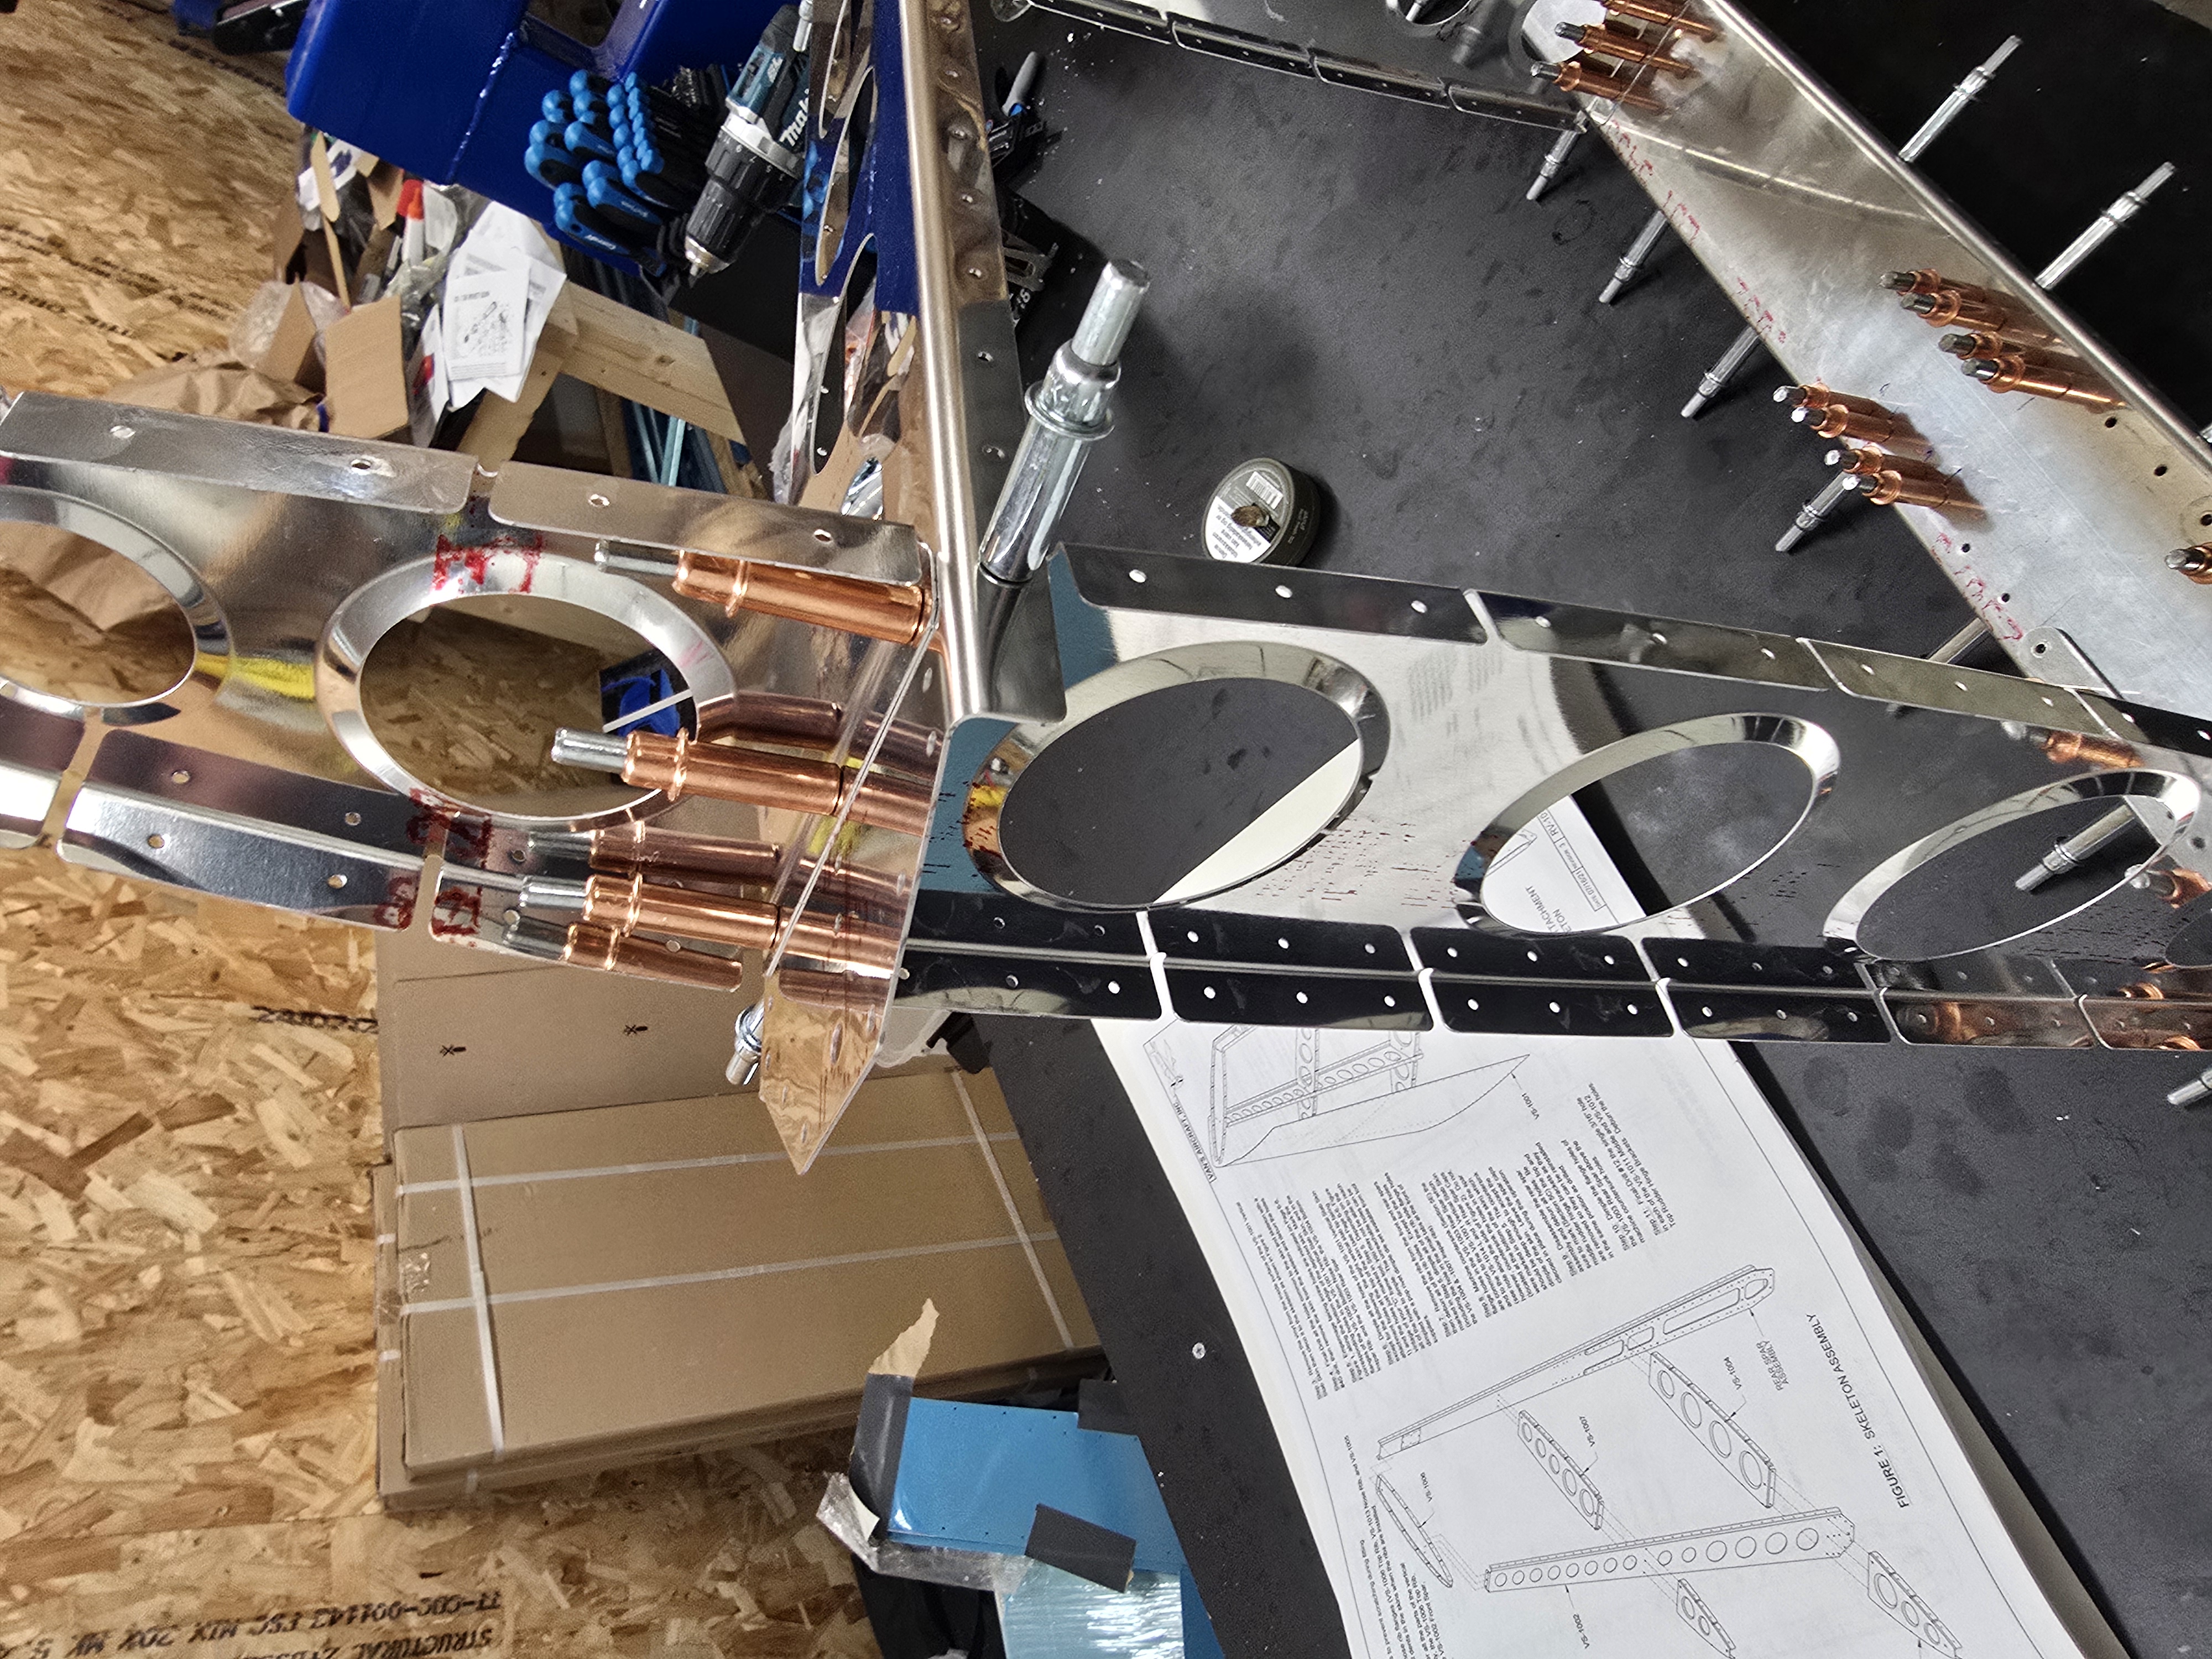
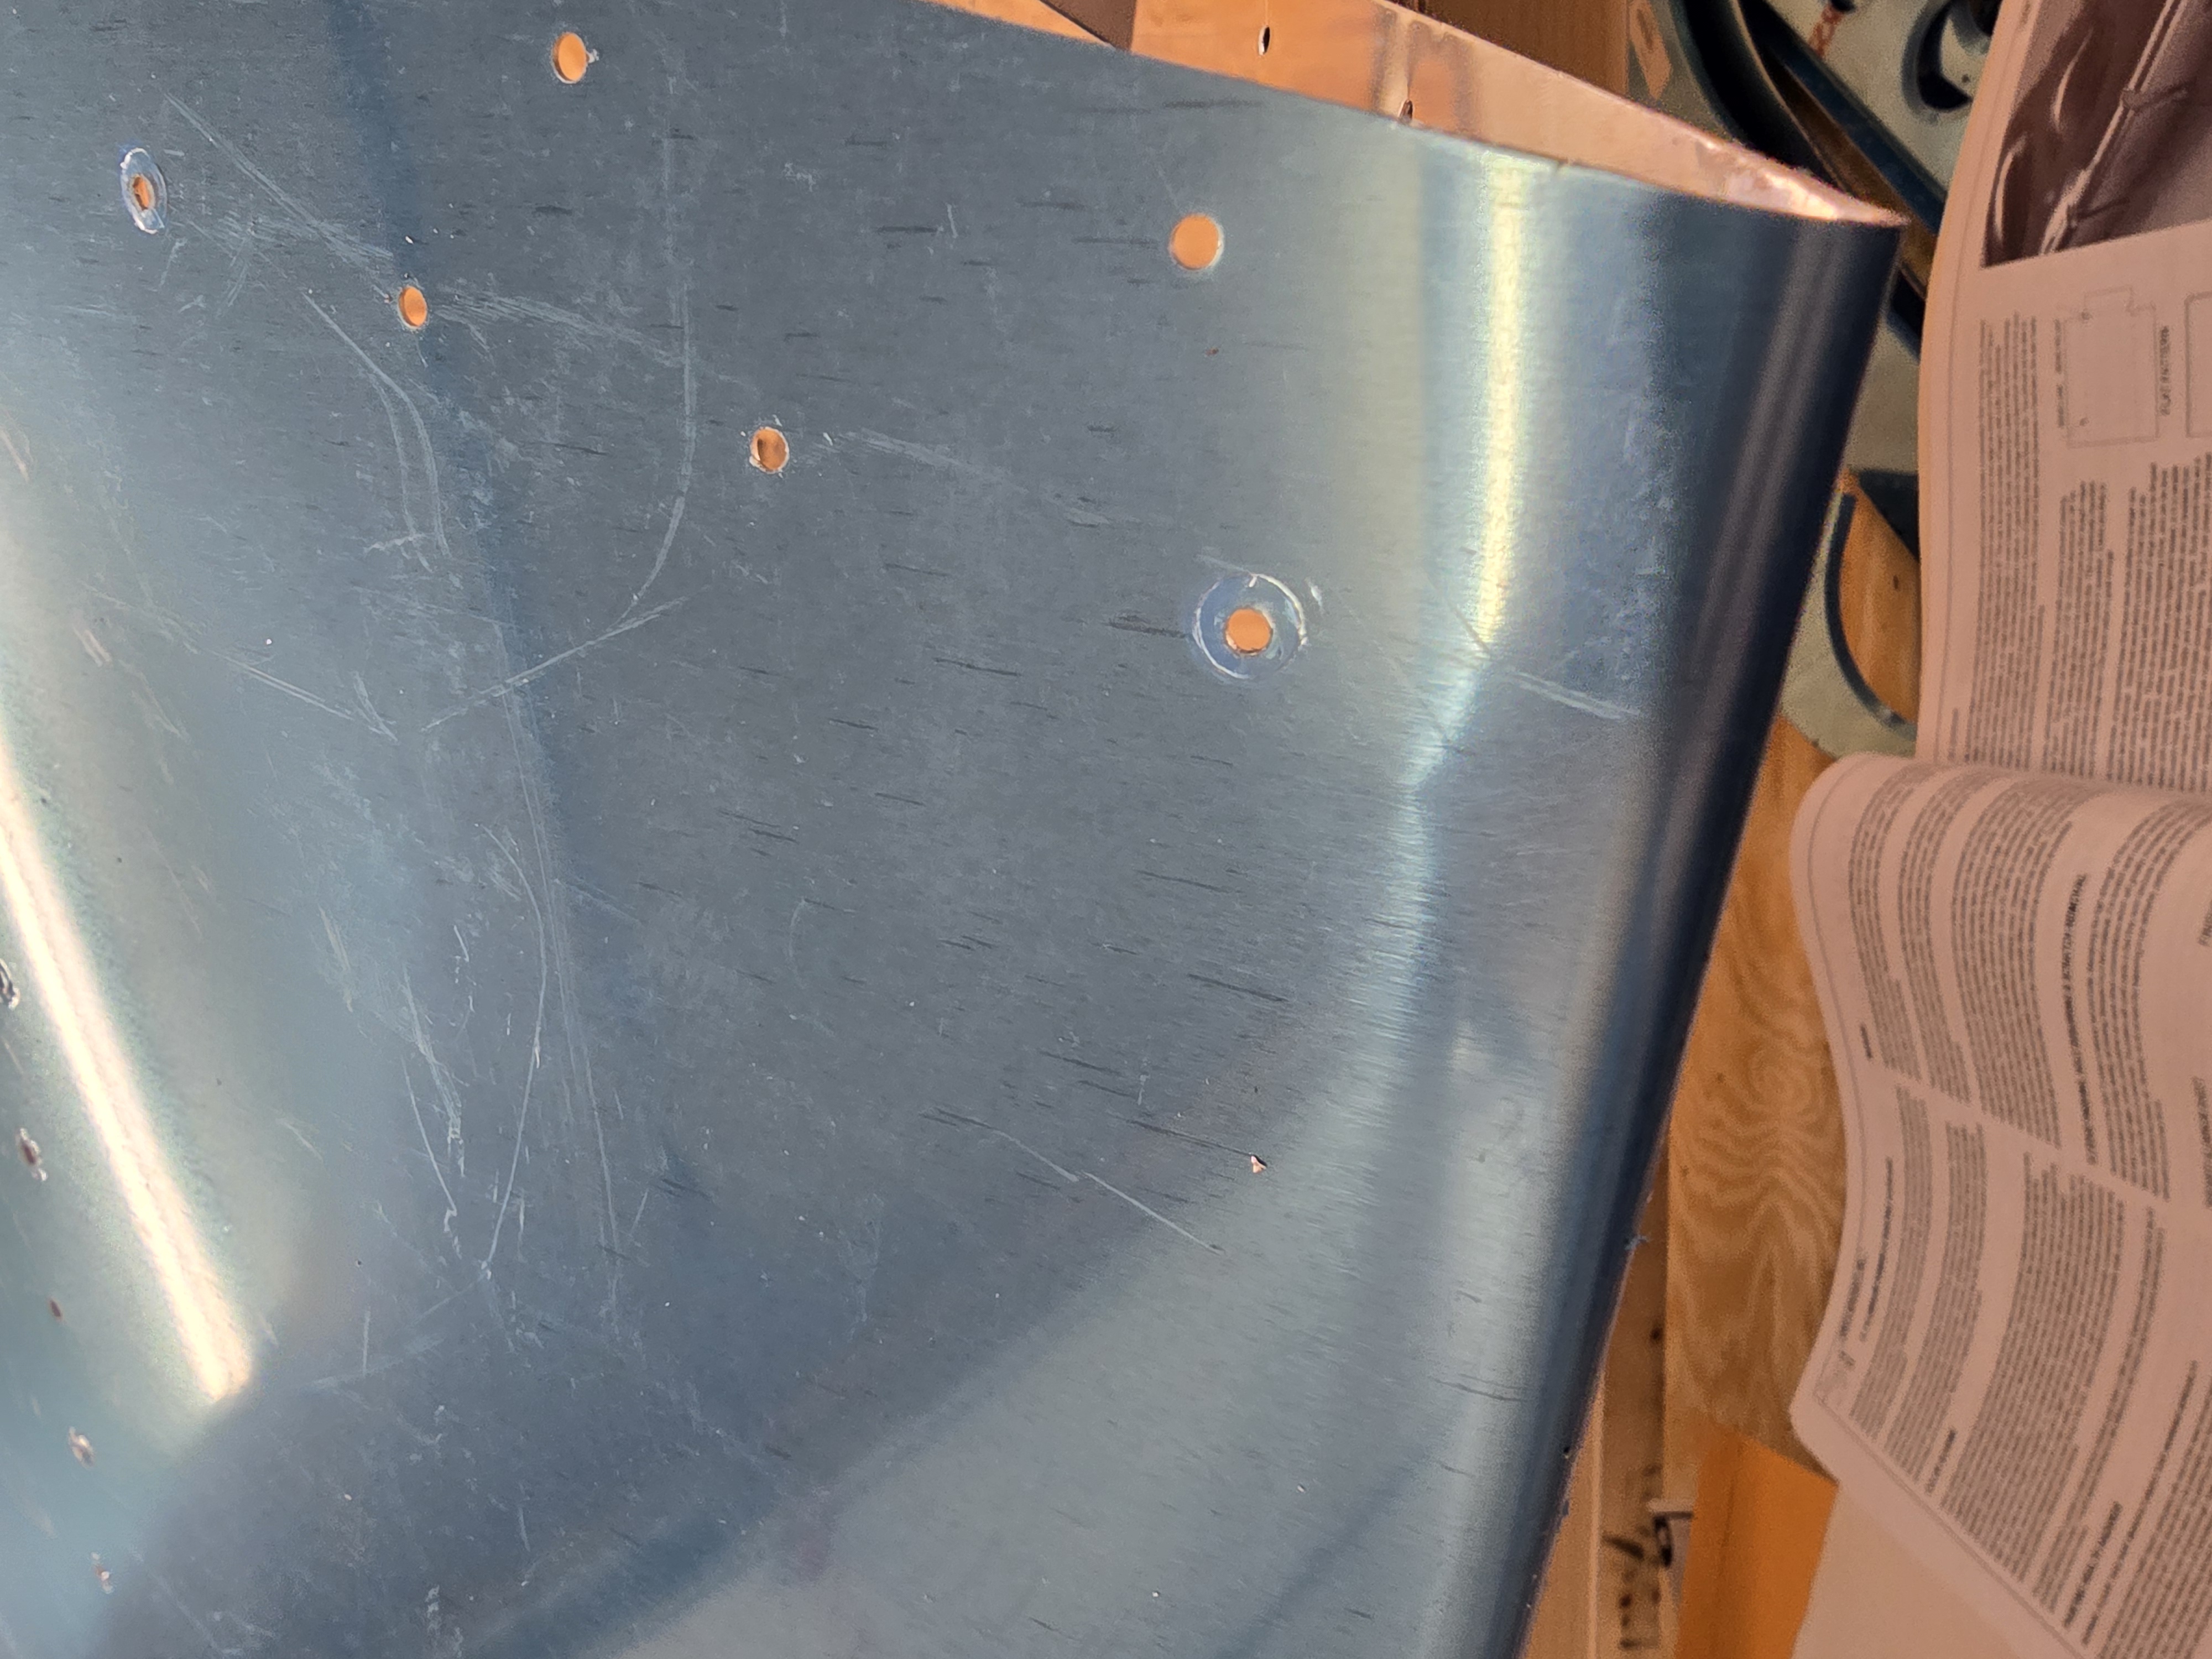
Step 3: I've seen a lot of videos from other builders where they complain that the blue vinyl coating is a pain to remove. After working with the small parts I never understood what they were complaining about, however after removing it from the skin I get the idea. I've seen different approaches from different builders, some say removing it later makes it more sticky and more difficult to remove. I think I will go with the route to just remove the part that is around holes, thinking it will be easier to remove when the skins are attached to something and doesnt flex so much. I was genuinely afraid to damage the skin when removing the vinyl coating.
Step 4: Have now deburred all the holes on the inside of the skin. The plans doesnt go into detail about the need for deburring the outsides as well, but since Im not sure I will deburr both sides. It says somewhere that most holes on the RV-10 are final sized and doesnt require final-drilling or deburring. That certainly doesnt apply to the vstab.
Step 5: Mark the holes that shouldnt be dimpled or countersunk. These are for the fairing screws. I did mark them with the blue marker, again I feel I need a red marker to make the mark stand out when I get to the dimpling.
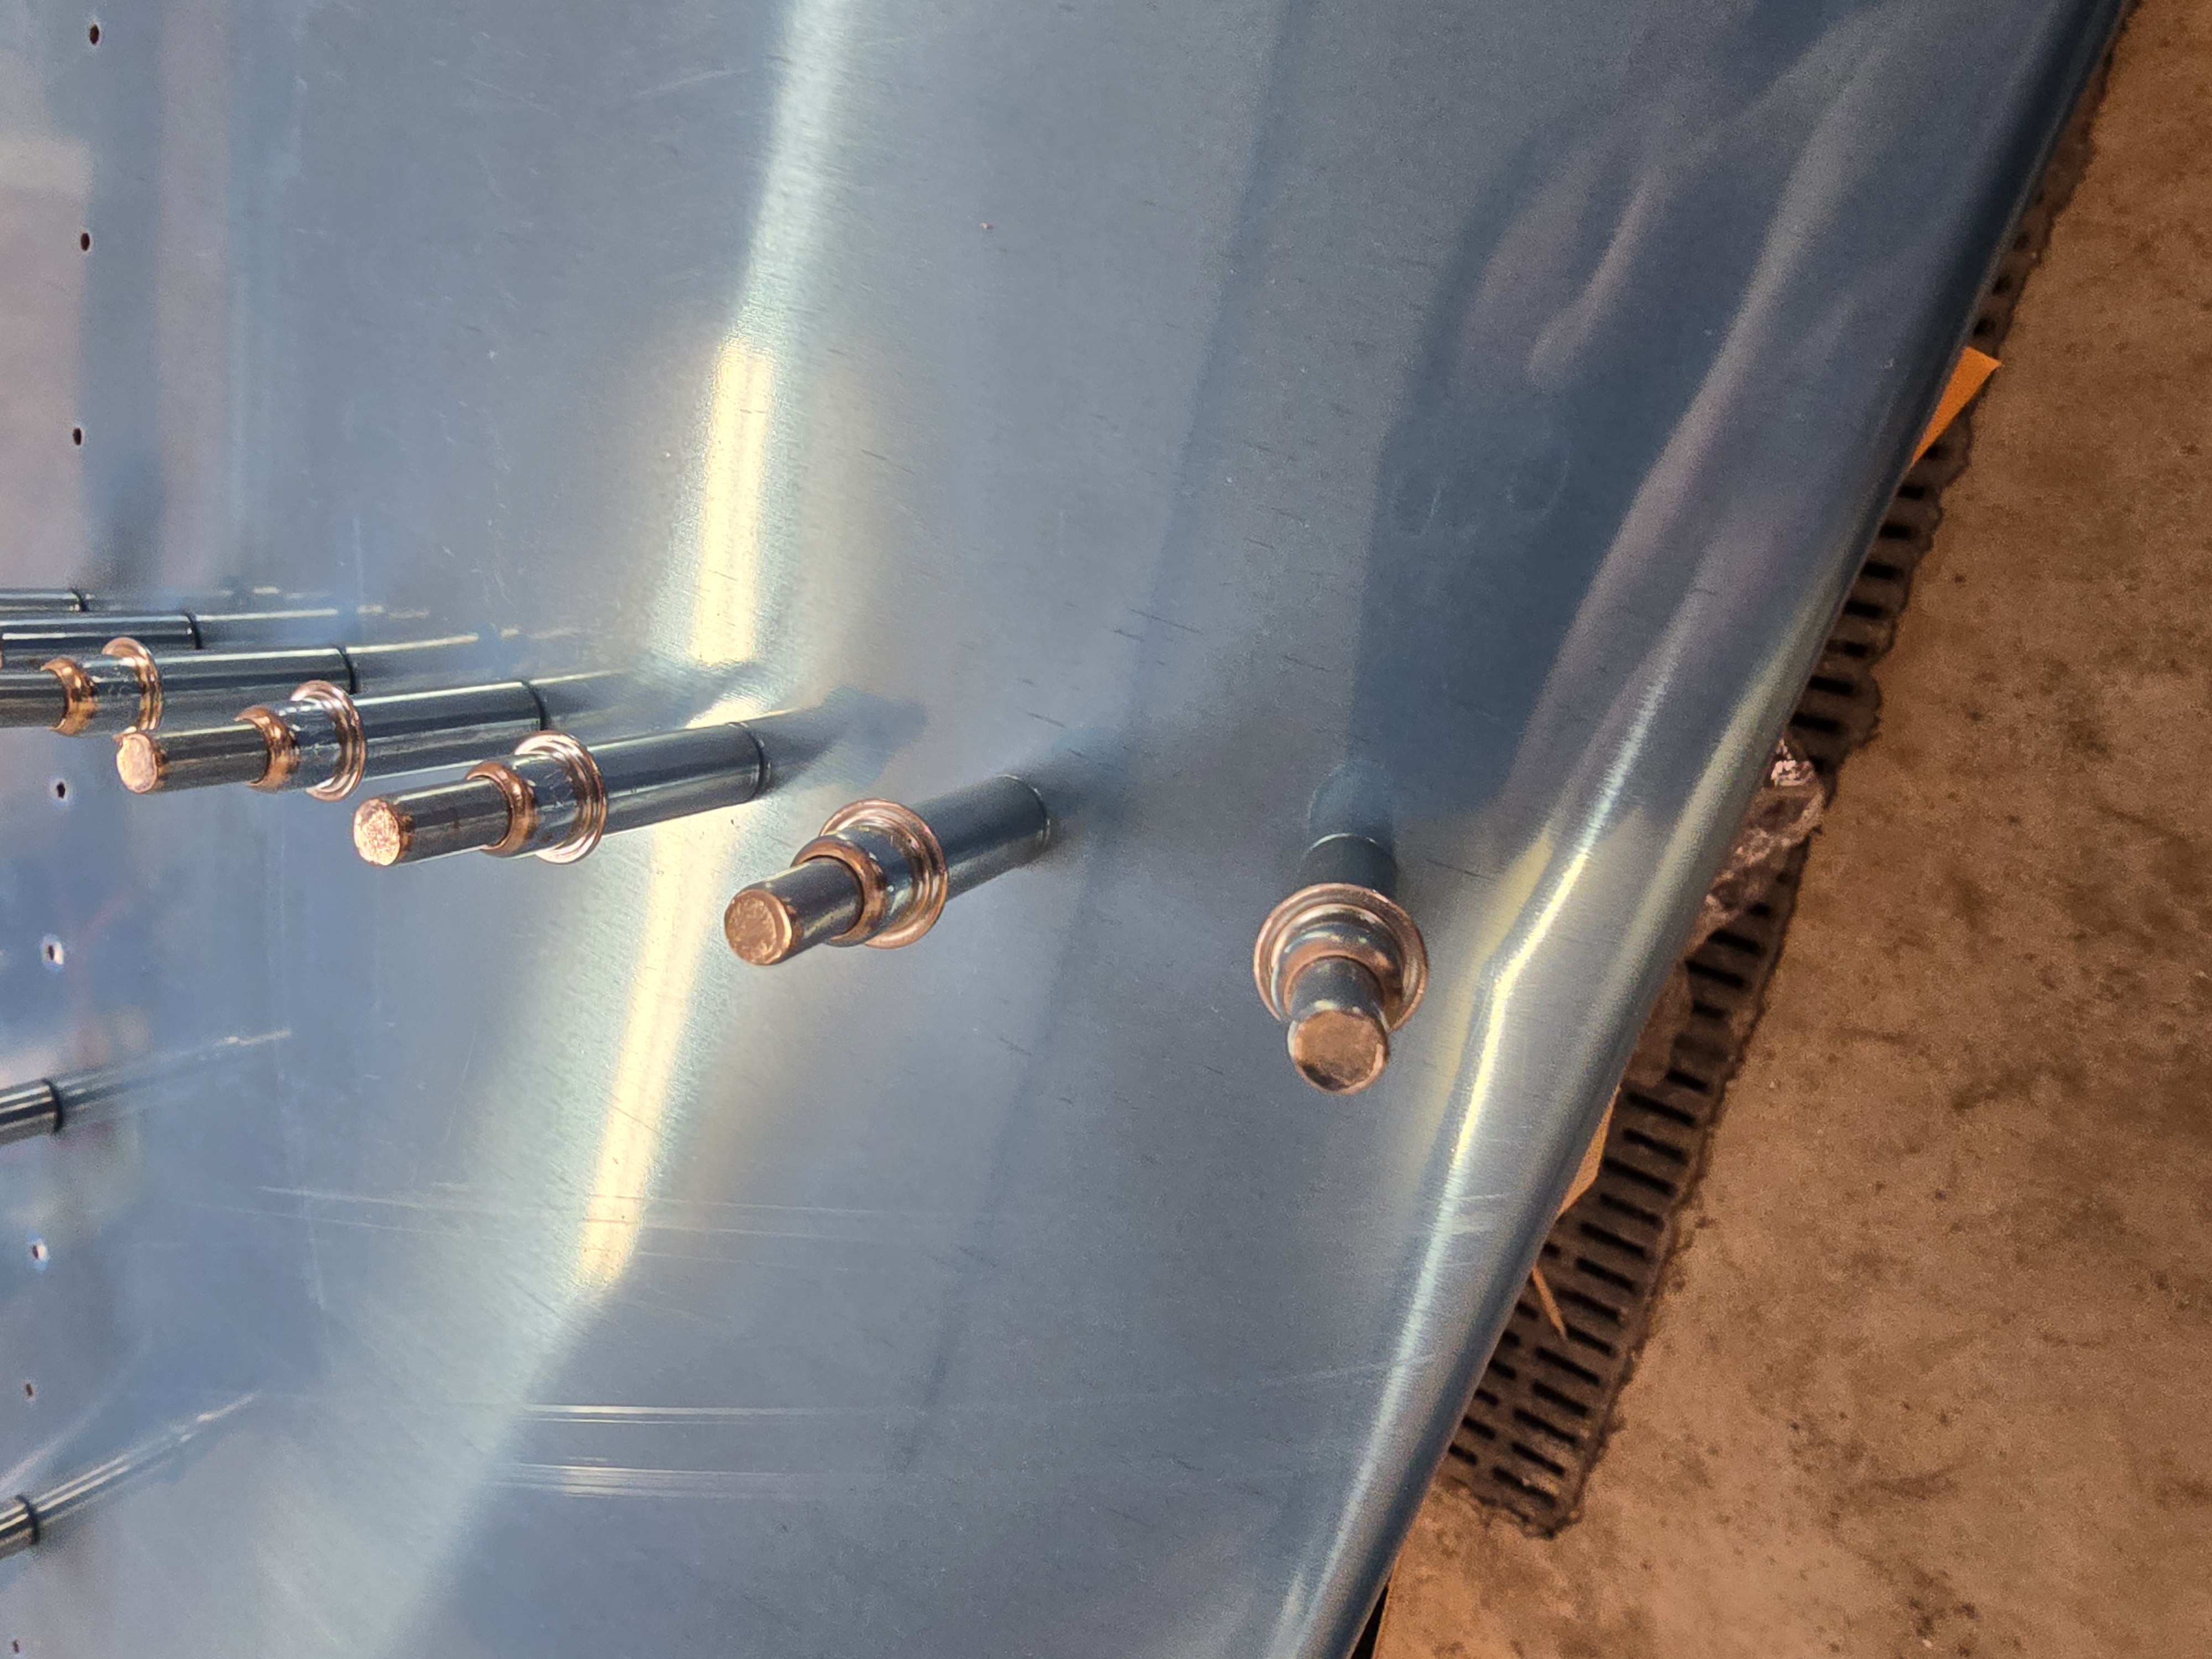
Next step is to dimple the skin, I don't want to do that before I have the dimpler on a table that makes the dimple die flush with the workbench, so will have to build that cart. Will also soon have to prime parts as they are getting ready for final assembly, so I also have to construct a painting tent. Have had numerous ideas of how to do that. The idea I landed on is a 150x150cm (~5x5') frame screwed into the ceiling, with a similar frame at the floor, and attach painters plastic between them. On the ceiling frame I will attach 4 pulleys, and run ropes through them that are tied to the bottom frame. This way I can just hoist the bottom frame to the ceiling, and the tent will be "gone" when I don't need it. Will make a separate post about this in the workshop section.
Comments
Write a new comment